3DS MAX: VISUAL CONTROLS
|
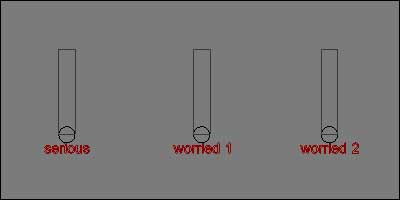
This tutorial will explain how to setup visual control siders in the viewport for controlling parameters without having to mess around looking for
specific controllers and attributes, these controls can be hidden in the scene with its own camera so you can have access to all your controls with
a quick switch to a specific camera.
These controls are often used for controlling faces, morph targets / face bones, but are flexible enough to work for other things such as foot roll
systems, finger rolls, splays etc.
The controls themselves are just spline objects, to start, go to the create shapes menu, then select rectangle, this will work as an outer range
guide for the slider, the slider itself will just be a circle.
From the same view, create a rectangle and circle of a suitable size for your scene.
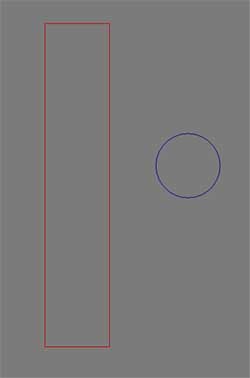
If you are working in max generic units, these numbers are worth noting down, if you are working to real world units like meters you will
have to convert between units or do some guess work.
Align the circle to the rectangle, using a pivot point centers.
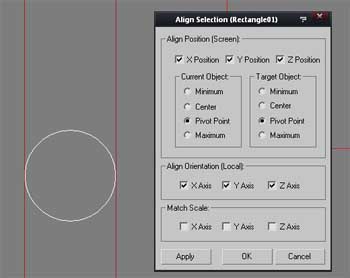
Then link the circle to the rectangle, this will allow the controller to be moved and keep the circle in place.
Now go to the motion parameters menu, and click the assign controller rollout, here we will limit the movement range of the circle.
Make sure the circle is selected and click on the cross next to position to show the three seperate axis for the objects movement.
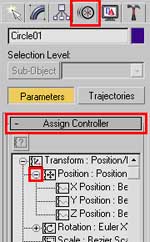
Click on one of the axis and then click the assign controller button, in the list that pops up select float limit, this then allows you to set
a minimum and maximum movement range along this axis, the values are in max units, so if you are working in these units you can work out what
your limit values should be depending on the size of the rectangle, if you make a rectangle 4 high then your range would be -2 to 2, if you are
working in another scale you may need to do a little trial and error by setting a limit value, then moving the circle and keep adjusting untill
you have the ranges you want.
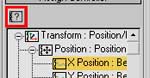
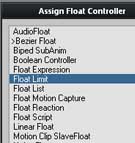
For this example I only want to be able to move the circle up and down, so I will set 0, 0 limits on the two unused axis.
Once this is set you should have the interative side of the slider setup, now we just have to link the slider to an action using reaction manager.
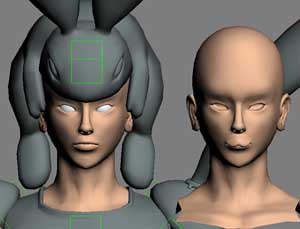
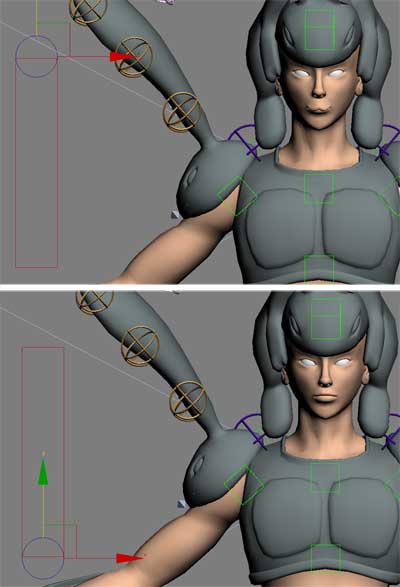
As a common use for this setup is for adjusting faces I will link this slider with a morph target, on the left I have a default head, and on the
right I have a morph target for a random facial expression. Inside reaction manager the circle will be the master, and the mesh with the morpher
modifer will be the slave.
Bring up reaction manager, from the animation file menu.
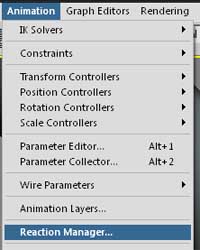
Then click the add master button and select the sliders circle, then run through the menus to find the axis that you want to use, in my case
it is the Y position.

Now click the add slave button and select the object that has the attribute you want to control, so where I will select the head mesh and
run through the menus till I find the morph target control.
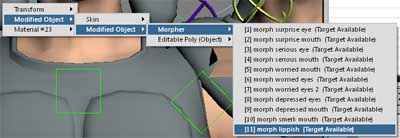
Now in reaction manager create two states, the state range will be position values for the circle, the slave values will be the morph target range
which is 0 to 100, so for the first state double click the value field for the slave and set the first state to 0 and set the second state value to
100, now set the state values to your upper and lower movement range, these will likely be your float limit values.
If all has gone well the slider is working and you can close reaction manager, if not you may need to adjust your values.
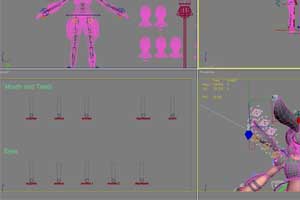
If you setup a few sliders you may want to create an additional outer rectangle and link all the slider rectangles to the outer rectangle so
everything can easily be moved around, you may also want to setup a camera infront of your sliders for an easy way to access the controls.
|
|
|