INTRO
NOTE: To enhance this page i'd recommend hitting the green button in the bottom left corner of this site.
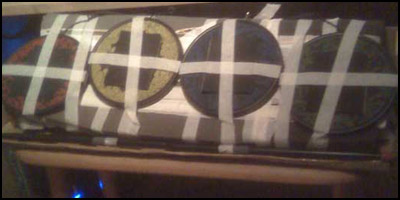
So what the hell is this? This is the result of wanting some drums to play Guitar Hero / Rock Band but not having a lot of options at the time.
I've been waiting for the stand alone world tour drum kit to get a UK release but there is currently no date set, then with recent rumors an
official PC release is on the way I felt I would like to wait for more news on that, so I needed cheap ass solution to fill the next few months.
After hunting around I come accross the MadCatz portable Rock Band drums, they seem to sell for around 25-30 quid so thought i'd give them a shot.
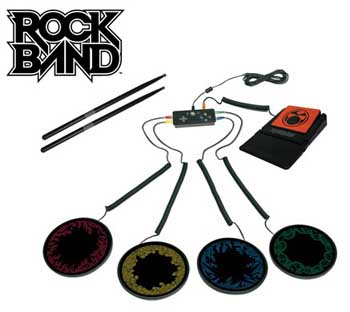
But after opening the pack I realised some effort is required to get anything out of these, just placing them on a tabletop makes them awkward to
use and makes for a pretty poor playing experience, so I decided to put all those Blue Peter skills to good use and try and solve this problem
with random things laying around the house.
FIRST ATTEMPT
The first attempt was a bit hopefull, I grabbed an old table we had, a bit of sponge from a random box I still had stored away and some masking tape.
The result had two major issues, where the tape was doubled up on between the pads it made an annoying squeek every time a pad was hit, and the pads were
too flat to hit properly.
Next I tried to double the sponge over at the back and tape the front down to add some tilt to it.
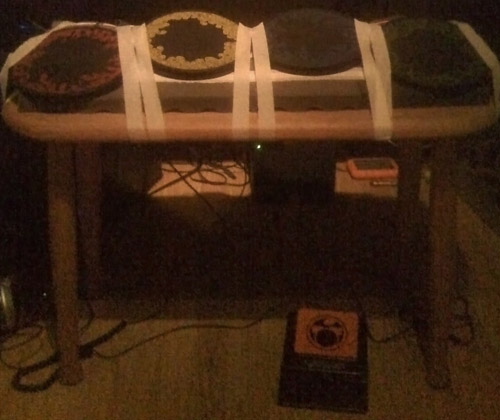
This added a slight tilt to the pads, but it was not enough to make them nice to play on.
[ NEXT POST ]
SECOND ATTEMPT
The main problem to solve at this point was the tilt so after looking at my options I went for the local newspaper, scrunched it up and stuck it under the
back end of the sponge then used a whole lot of masking tape to somehow contain this pile of newspaper.
This actually helped quite a lot, but there was a new problem, as the whole structure was just being taped to a flat table the tilt was being pulled in at the
edges meaning the 2 outer pads, red and green were now facing away from me and made them quite hard to hit. So it seemed clear I would need to construct some
sort of framework for everything to sit into nicely to keep its shape. Thats when the old cardboard boxes in the loft and brown packing tape come into play.
[ NEXT POST ]
THIRD ATTEMPT
After planning out what I wanted I started cutting up various strips of card and taping things together
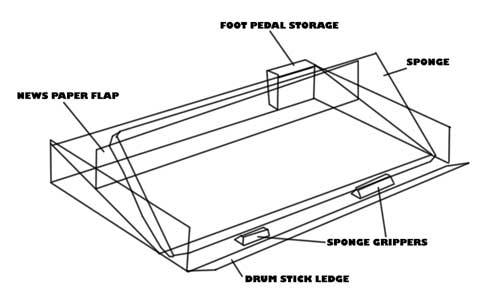
With such a high quality diagram behind me, how could I possibiliy fail, soon the cheap ass drumset of my dreams could be within grasp, and with this
new design it would no longer be physically attached the tabletop so it can easily be removed and used on any surface.
I decided to go for the newspaper flap after I realised I still wasn't getting the tilt level I wanted and this made it easy to quickly throw in
some padding and have it stay in place so it would be easy to adjust to whatever I wanted, but lets just pretend this was all part of the original plan.
After some time things started coming together, after some play testing things seemed to be working almost as well as the proper kit at this point,
but compared to the WT set I have been used to it seemed quite loud, but thats nothing an old mouse pad and even more masking tape could handle,
an unexpected side bonus was the taped mousepad actually made the pads more sensitive.
I also found sticking some elastic bands around the drumstick tips helped dampen the noise even more.
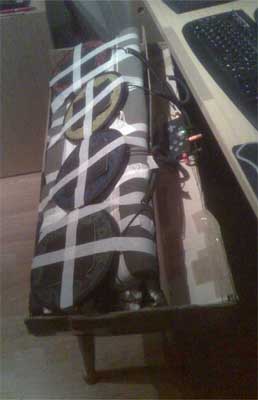
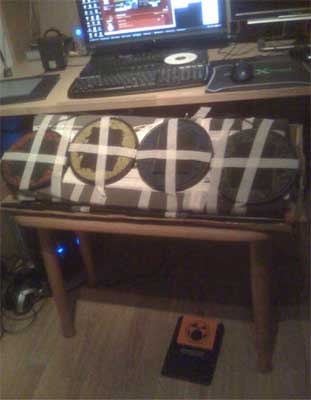
So at this point I have a nicely working set, it looks just awful but plays nicer than an unmodded rb1 set, in terms of pad sensitivity and noise.
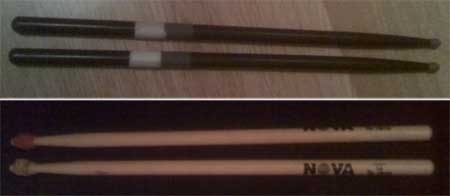
After some play testing on some of the harder songs I felt the drumsticks that come with the kit were letting it down, they are
plastic and heavy, I dropped these for a cheap wooden set and it instantly felt better to use.
The final issue I find is the terrible bass pedal, this really is terrible, every time you lift your foot the pedal makes a loud
plastic clunk that echos. I have read the set is compatible with the proper rb pedal or you can
make your own, I have not done anything about this yet as im waiting for a cheap ass solution to this one. But overall for a 30 quid
solution it is certainly a successful project.
Now I can wait in peace till the PC release or stand alone xbox drum kit show up.
UPDATE:
After a few weeks of using these drums I am having more and more of an issue with the size of the pedal, its just not long enough, I guess this may depend on the
size of your feet and if you are a little girl this pedal may be just right but with my feet being on the higher end of the scale I feel its just to small to use properly.
So the new task is to extend the pedal with random things I can find in the house, this task was proving to be harder than expected, my trusty pile
of cardboard didn't seem to be up to the task, so after digging around I found a potential solution.
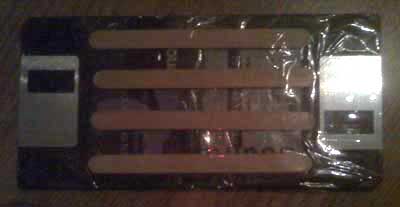
2 Floppy disks, 4 Lollypop sticks and sellotape.
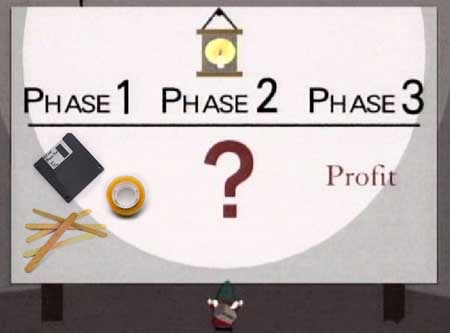
In this case I have a Benq network card driver disk and a Creative Sound Blaster awe32 driver disk, I was a little
worried about the sound blaster disk but I believe it will still work, and after some carefull planning you can end up with something that looks like this
Carefully attach the new base to the pedal
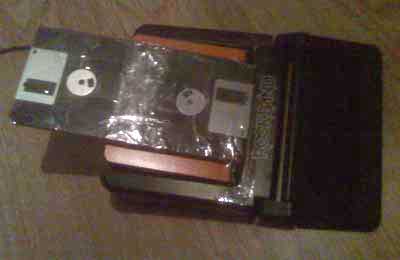
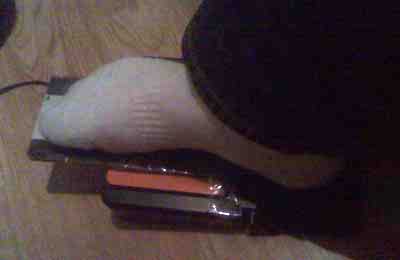
And we have something thats just about the perfect size, one more problem solved.
|
|