ANGEL FISH
|
stage: GOLD
|
|
| D E V E L O P M E N T B L O G
|
|
UPDATE 42
Film is finally at the gold stage, all the shots have been rendered and comped,
the current version is actually my third attempt at a final version after finding
a few mistakes in the passes, there are still some noticable issues but i think
all the major issues that i have time to deal with have been done.
UPDATE 41
Going by recent progress it seems i should be able to get the whole movie lit in time
some of the shots may only have basic lighting, not enough time to tweak the details but
even basic lighting seems to produce far nicer results than no lighting at all so i really
want to see the whole thing done now
While compositing i've found i've had to render extra passes for a couple of shots to get
things to work properly, i also decided to do some zdepth passes for a couple of shots where
it seemed like it would work
Im tempted to render off a halo pass to add a glow effect but i may not have time for that
and the standard halo seemed to work so this is not a high priority at the moment.
UPDATE 40
Lighting
Currently working on the lighting, going though all the shots adding lighting for the background and character
and rendering out as I go, when i reach mid way I will decide dependant on time remaining if i will continue
to work on the lighting or go to the compositing stage.
UPDATE 39
Fast Rasteriser
before starting rendering out some lighting passes i wanted to to a quick test
comparing the results of using fastrasteriser.
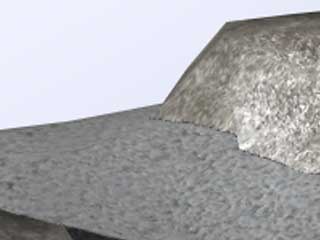
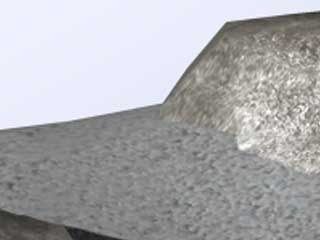
1 frame 2:35 seconds with fast rasteriser on, noticable fringes along edges and noise on shadows and textures,
with fast rasteriser off 2:11 seconds with a nice improvement in quality
so it seems that by not using it i can save time and have better quality renders for some reason
recently an official university intro was given to us, but i had already setup
this scene to have the uni logo so i had to cut this out and rerender this shot
with only the film title in, so now it will be cut a little shorter and just
have the official intro before it
not sure if i mentioned before, but the texture for the bed of the tank is using
martins blend technique to avoid noticable tile patterns, i used 2 textures and then used a random noise pattern to blend between them over the surface, it seemed to work
really well
UPDATE 38
Gas
thanks to martin i have a nice gas effect worked out using animated noise to create a displacement
map that is applied over the top of everything in fusion but i still need to do some experimenting
for the other effects
i made a slight update to the teleport effect to make it look a little less like a poor mans particle
effect, works a little nicer now
UPDATE 37
PDA
the original plan for the pda was to have a animated background behind the text
i put together an animation in max for this but since its 3d it needs to be comped
together to work, but in my scenes the pda spends a lot of time moving, and trying to
comp an effect onto a moving surface adds a few complications
my solution to this was to have the pda showing a different, loading screen at the start
and when it shows the screen with the animated part it will be static on screen, it seems
to work better this way anyway so i don't feel like i have made any compromises making
these changes
UPDATE 37
i've been trying to put together a version of the film that i can feel happy that all the
major issues have been worked out before moving onto the lighting stage
this basically involved putting all the shots together and watching the video, noting down
all the biggest problems and fixing them and repeating the process untill i had something
i was happy to watch, but every time i fixed something another problem popped out
i basically spent the afternoon tweaking and i think i have something that works now,
definatly not perfect, but it works
now i have the base movie in place the timings should be pretty stable now so i took a moment
to update the audio for the film, the sound could be taken further but i don't feel its an
area i need to unless i really didn't have anything else left to do
for the sound i debated between audition and premiere, premiere is very easy to position
cut and adjust volume levels and pans so has always done the job for me in the past but this
time i wanted to see how well audition could handle things, and being a sound application may
give me some extra options that i may want to use
after going through the process i have decided i will not be using this method again, there were
no real benefits for what i needed to do and it just meant i had a slightly slower workflow due
to switching between an extra program
UPDATE 36
been fixing some of the harsh shot transitions, a lot of shots had odd pauses,
these have been trimmed to tighten up the flow a bit
there are a few new shots to act as transitions to shots that seemed to jump without
enough detail going between, such as the character jumping from the oven to the wall
without any indication
and some shots have been shuffled around to work a bit nicer, lots
of small changes that would be to many to list but the result is certainly nicer than
the original beta version
UPDATE 35
i have a couple of shots with materials that fade in and out, such as the titles
and the teleporter effects, these were rending incorrectly, seems fast rasteriser
can't handle this properly so for these shots it will have to be disabled
i also got some feedback on the beta version of the film, currently some of the shots
are very jumpy and just don't seem to flow, i was aware of this issue but unsure how to fix
it so was glad to get some constructive feedback on this, unfortunatly there are so many issues
in this area i could spend a long time getting this perfect, so i will have to just pick the
major flaws and focus on those
also found one shot with an object missing, something i completely missed myself so nice to get
a new perspective on things.
some shots were stratigically setup specifically to avoid technical complications so i will have to
find a ballance between fixing the problems without creating hours of extra work.
UPDATE 34
the beta seems to be progressing quite well, and i have decided there were a few shots at the
end i can cut if needed, giving the film an alternative ending point, if i find i do have the
extra time i can work on these shots to get the original ending back in, but if i can't then
i think i can get away with ending at the point where the angel fish gets swallowed and she
looks annoyed while inside the body of the fish.
I don't think its as nice an ending as it leaves a few questions with the viewer such as does
she get out, but its still a functional option, and quite funny in its own slightly twisted
way with reguards to how it will leave the viewer feeling.
UPDATE 33
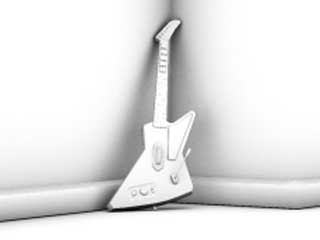
made an extra prop that will be added as background detail as the environment still feels quite empty
in areas
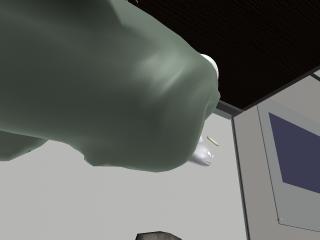
while going over some of the shots i noticed shot 14 had issues that i had forgotten about, this is the
POV shot where angel looks at her hands, there will definatly need to be some work here since the skinning
of the hands is not great, the model itself for the hand is quite low detailed as well and no forearm twist
is proving to be a pain in these situation
this shot was designed to be ghosted and distorted so i did not feel like i needed to spend extra time working
on some highly detailed hands that don't get a lot of focus in the film
so for this shot i hope i can make it work by just using some adjusted skinning more sited for this motion / pose
it also seems the hand intersects the clothing in this position so i will need to fix this as well
UPDATE 32
i have reached the shot involving the large fish swimming in and swallowing the angel fish
this brought in 2 issues
the first issue is scale, i was not thinking ahead when i started with the angel fish shots
she is actually to big, which then makes the big fish that eats her to big to the point where
he would be to big for the tank itself, so i need to scale things down, due to time constraints
i will attempt to only adjust the scale for the 1 shot that involves both fish together, i don't
think the environment gives a strong sence of scale so i may be able to get away with this, if
not i will need to go back to previous shots and match up the update size.
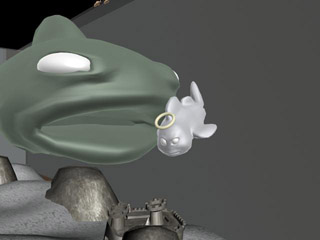
the second issue is partly linked with the scale but also the model itself, the large fish is not
really modeled suitabily to have the fish being eaten in clear view of the camera, the smaller
fish clips with parts of the model and i don't want to spend ages modeling a mouth and throat for
the big fish due to its extremely short camera time so i have decided to split this shot into 2 parts
having the camera infront showing the fish approaching, then switch the camera to a side or behind view
for the swallowing, this gives the complete shot while avoiding directly showing the fish going into the
mouth
UPDATE 31
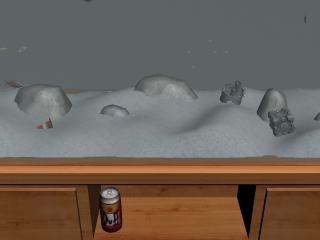
while blocking out the animation i reached the fish tank scene and realised i would need to stop
and work on adding some content to the tank itself as currently it is completely empty, the contents
of the tank are no exactly important to the film so i just need some filler content.
I decided to shove in a few misc models that i have made randomly over the last few months that were
not originally planed to be used in the film but could do the job for detailing such as a low poly
traffic cone and companion cube (portal), and a duff bear can.
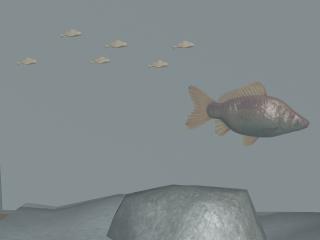
while the only important content in the fish scenes are the angel fish and the large fish that eats her
i thought i better add some extra background fish, for these i used 2 fish models, one a variation of
the angel fish and one fish from one of the very first classroom tasks we did in the first year, finally
it can be put to use for something
i created some splines and use path constraints to give the fish something to do
UPDATE 30
started blocking out the animation, i plan to go though the whole film putting in the
key poses without timing, just following the previs as a guide, once this is done i will
go over the whole thing again, timing the motions out and adding the smaller details like
blinking and falloff, going into as much detail as i can while sticking to my schedule
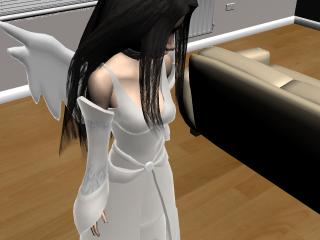
worked out a rough teleport effect, this still needs work, i have not had time to look into
fusion particle effects so for now i have just put together a simple path constraint system
combined with some images.
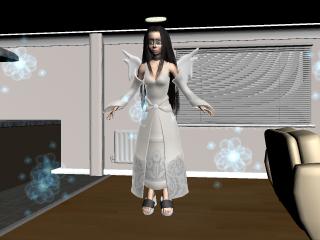
as i was progressing through the shots i was finding little mistakes everywhere that i was fixing up as i was going,
so i decided it would be best to keep a continuity log so any changes i make will be consistant between shots
UPDATE 29
Sound
the issue of sound has been bothering me for a while, its something that is very important to
an animation but not something we have a lot of time to spend on, at the very minimum it is key
to find a suitable background track that is easy to listen to as not to annoy any viewers while
fitting the mood of the animation, and i did not have any idea where to start looking as my entire
music collection was not going to be of use.
one of the other complications was i wanted music without lyrics which is a huge limitation on the potential
music i could pick
i resorted to asking around for recommendations for music and put together a list. after getting
about 20 potential songs i listened to everything and went through a process of elimination
and after going through the short list a number of times i ended up with one clear winner,
it clearly was the best of the bunch but im not sure its ideal, so while i could use it if time allows i
would like to do some more music hunting
i've also gathered a number of sound effects for all the main effects needed, ambient sounds for the house
to fish tank sounds, foot steps etc, hopefully this will be enough to take the edge off the less than
perfect music.
UPDATE 28
i was thinking about the morph angle deformer to fix the albow but then i noticed
while i had been carefully to add some edge loops to the albows, i had not done the same
for the clothes, hopefully i can add some extra loops without losing my skinning work
as the upper body is all one object, i'll try baking the weights and hopefully that will
allow me to make some mesh modifications without having to redo things
the skinning process in general has been quite interesting for me since we have been shown
a number of methods to do things and previously i had found only 1 method seemed of use, but
i actually found myself using all of the techniques i had been shown as they seemed to have
pros and cons in different situations
and something that i was not aware of but came of great help was the blend option in the weight
tool, i found this blend option a lot nicer than trying to paint blend weights or manually tweaking
values, this gives a quick way to effect multiple verts at once that need different values,
very nice button.
UPDATE 27
most of the skinning seems to be done now, couple of problem areas that may need tweaking
but i should be able to work with this to get some animations going
after some more tweaking it seems the elbows are going to be an issue, it was probably a mistake
to have the arms under the clothes for this situation, i may need to look into morph angle
deformers to see if i can rework the joints
but heres a set of images randomly done to test the skinning, with elbow glitch in full glory
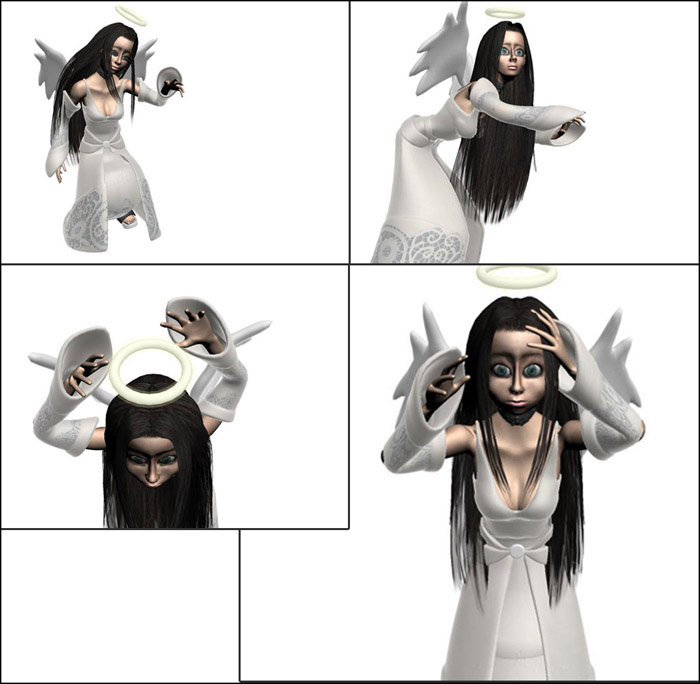
UPDATE 26
skinning process had me confused for a while, i found the head was moving incorrectly for
reasons i could not work out, then i noticed disabling the morpher in the stack fixed it
so i had to reorder the stack to have the morpher under the skin, this seems to solve it
it also seems skinning can't be used for the eyes when using a lookat control system due to
the pivot point remaining static when the object is skinned, and the lookat origin goes by
the pivot point, so i will have to use a constaint to link the eyes with the rest of the
rig
the dress controls still seem to lack in some ways, i think stretchy bones would fix this,
definatly a subject that needs looking into, i can do this manually but it would be nice
to have a time saving system integrated into the rig
UPDATE 25
i decided to add dedicated controls for the dress to the rig, im not sure if i can get away with just
skinning the dress to the leg bones, so i have added a seperate splineik chain just for dealing with the
movement of the dress
after some testing it seems a single chain isn't going to do the job for the skirt so i've added one
for the front and back to have more control, this seems to give better results
while prepairing the model for skinning i completely forgot about the morph targets and
attached some meshs together breaking everything, losing some morph targets that didn't
have physical models and stopping my lovely expression table from working, had to do
a bit of merging between versions to recover without losing any of the work i had done,
lesson learnt
UPDATE 24
i had originally planned to start skinning the angel character today but i ended up
spending my whole time cleaning up odd ends
i wanted to make sure there were no issues with the model before i started on the next step
as i didn't want to have to redo it after i find problems, or worse, having to leave the model
with problems because i don't have time to redo the skinning
after fixed a bunch of issues i got around to turbosmoothing the model to see what my end polycount
for the character is going to be, and it seems it'll be around the 55-60k level, i was expecting it
to be higher so it was nice to see quite a reasonable number.
I also decided to add a few more bits to the rig, firstly the eye system was missing so i created
a few controllers with a lookat constraint to sort that out
the bigger update was to add a expression table as i was finding the morph targets very slow to
work with so i felt this would be needed for the main character, i may not do this for any of the
other rigs as the other characters shouldn't have to much screentime to be a real benefit.
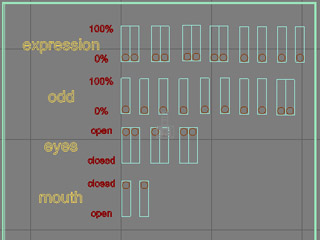
delaying the skinning once more i decided to experiment with a falloff self illumination material
technique i have seen and quite liked the results, i feel this could be a suitable technique for
the angel character to give off a clean, glow type look that will add a slightly unnatural look to
her to help put accross that she is actually an angel.
The results worked nicely on the clothes but not so good on the skin, i will need to test the result
in a fully lit scene before deciding if i can use this or not.
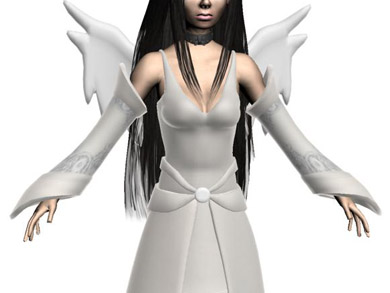
hopefully i can now move onto the skinning tomrrow as animation needs to start asap
UPDATE 23
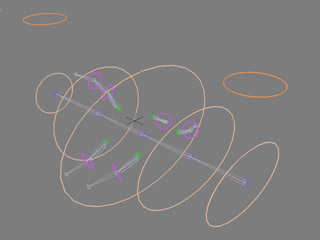
Fish rig
rigging the fish models brings in a number of complications as this is something that has never
been covered and i will have to try and adapt what i know to get a functional result
i started with the big fish since this only has simple animation so any lessons i learn in the process
will help make the angel fish rig better
i decided to go with a spline ik system similar to angels hair for the main body and setup a falloff
rotation system to get a nice way to make the fish flip its tail to move, the result seems functional
but very limited
squash and stretch would be a nice feature but i have been unable to find a suitable way to get this
working, something to look into if i have time
UPDATE 22
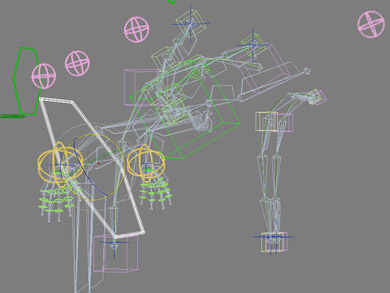
Angel rig
the base rig is similar to peters rig, foot roll, ik arms, spine falloff
but angel has long hair and wings and a halo so i had to try something new
for these areas
i thought i could have a try at the spline ik system for the hair and wings,
this is something we have covered in class but not something i was overly familiar with,
luckily the setup seemed quite simple
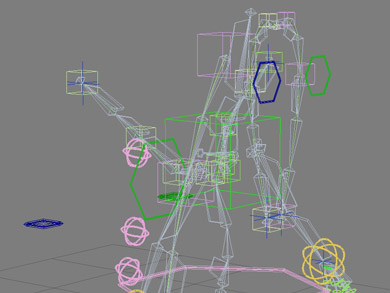
to try and keep a consistant feel for gravity for the spline hair system i added some
controllers and orientation constrained the mid point of the spline ik to them, this keeps
the end of the spline facing down when the head / body is rotated,
im not sure what the standard system is for this but i felt it would be better to have hair
attempting to respect gravity by default
UPDATE 21
Rigamorphis
creating some morph targets for peter this time,
i have wondered about morph targets for the faces when working with facial hair, for angel i did not consider this a big
issue since it would be easy to deal with the eye lashes, but with the peter character any movement of the lower half
of the face could cause problems, it may have been a better idea to attach the hair to the head while doing the morphs but
i felt this would cause issues so i decided not to do this, and just manually adjust things with an ffd cage or something.
i hope this does not cause me trouble later on in the project
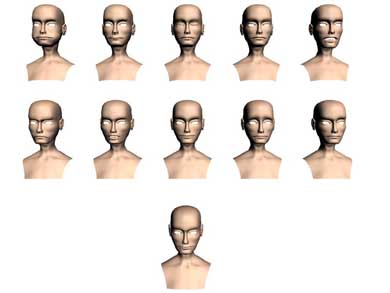
since it was the last thing i was going to do before starting the depressing
part of the project, rigging, i had a little more fun with the morphs,
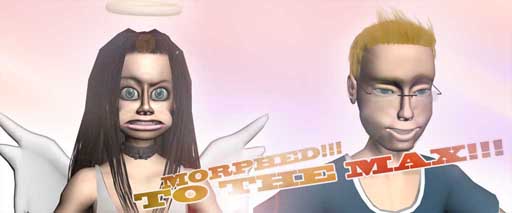
lense flare for that extra touch of class
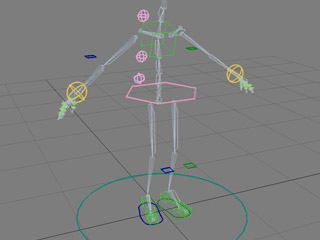
and onto the rigging
took a while to actually get it working, had issues with mirroring
the bones, then discovered i should be using the dedicated bone mirror tool
the rig includes a foot roll system, falloff on the spine bones and a wired tailbone
to correct the falloff on the inverted bones
i have managed a semi successfull fk/ik switch system for the arms in the past but it
made a bit of a mess so i decided not to use that for this rig, and i don't feel confident
about the forearm twist setup so i will not be using that either so for the arms its a straight
forward ik setup
UPDATE 20
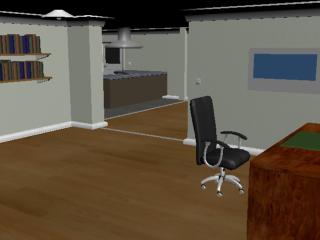
Environments
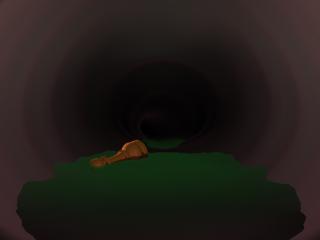
updated the inside fish environment
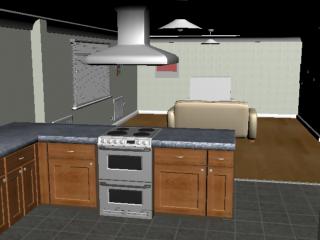
working on the textures for the main environment
UPDATE 19
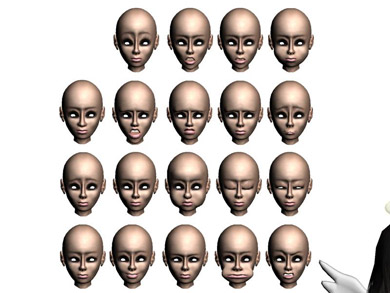
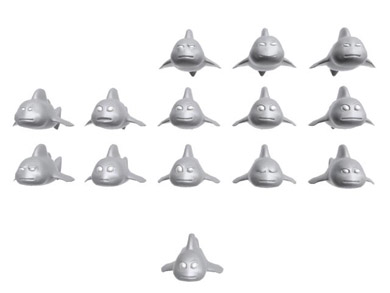
Morph targets!
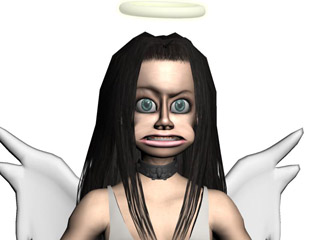
Some morph targets for angel
and a few for her fish form
UPDATE 18
Characters
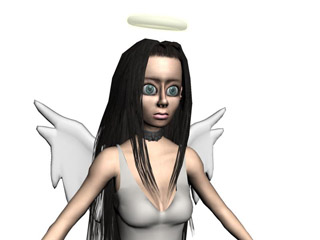
tweaked the angel some more, shortened the arms since they seemed a bit to long
and did some more texture work
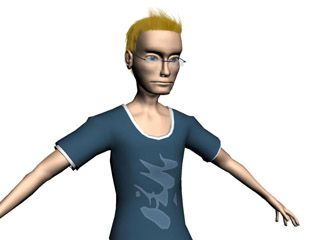
started on some textures for peter, spent a while trying to get the hair working
UPDATE 17
Angel
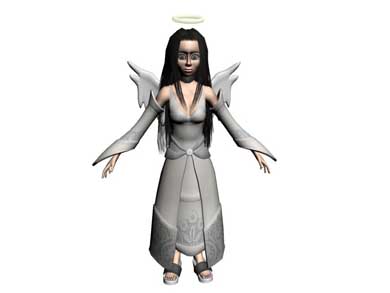
working a bit more on the angel character
i started to texture the model and found i had an issue with the eyes
i could not get the pupils to look right with the eyes the size they were
the result looked odd whatever adjustments i made so i decided i would have
to make the eyes smaller
UPDATE 16
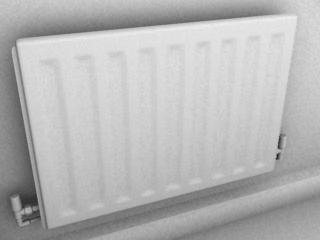
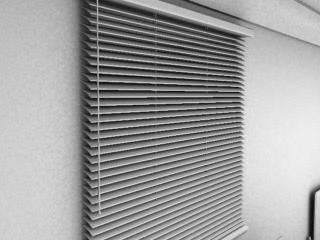
something felt missing in the house and looked around my
room to see what it might be, radiator
i needed to cover the windows up, had to decide between curtains, horizontal blinds
or verticle blinds, ended up going with horizontal blinds, no doubt these will cause
aliasing issues with my renders but we'll worry about that later
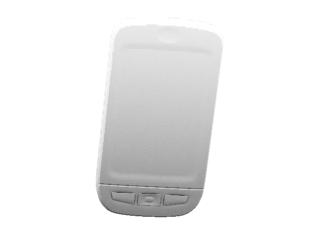
made the pda angel will use
UPDATE 15
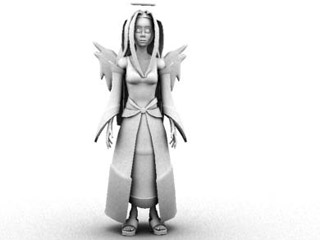
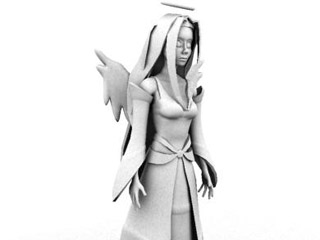
angel
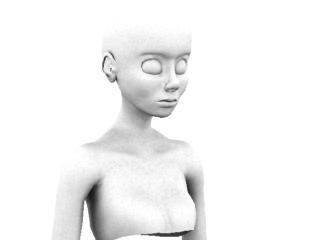
More updates on the angel character
a more complete body section
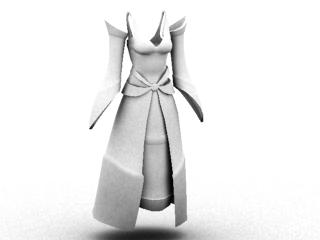
added the top part of the clothes
made some wings and a halo
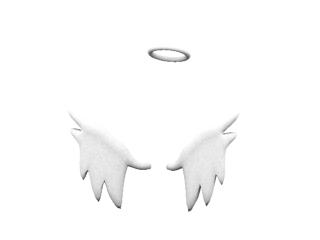
a shot of everything together with a test for the hair
UPDATE 14
more fishy updates
updated the fish tank to have a functional lid with hinges
to help the fish feeding scene work a little nicer
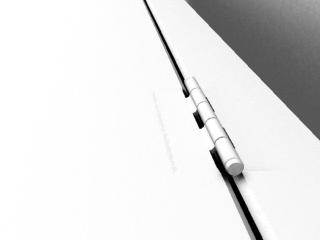
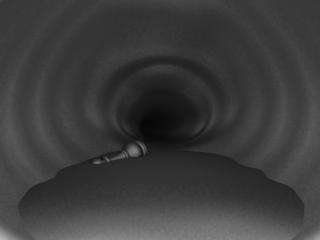
made the inside of fish environment for the swallowed scene
UPDATE 13
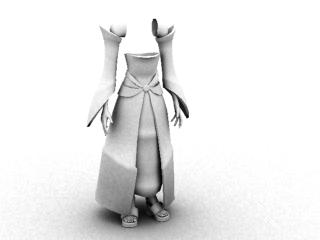
Angel
i've now started on the angel character.
to speed up the process i will be using my other model as a base mesh where possible
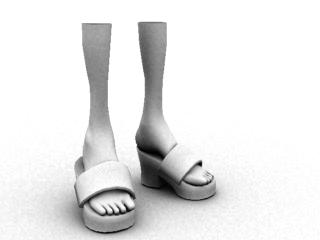
angels feet and shoes
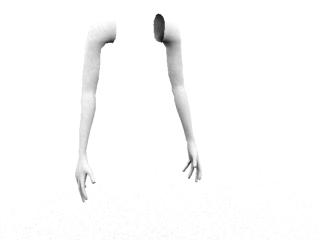
the arms
the clothes up to the chest area, incomplete
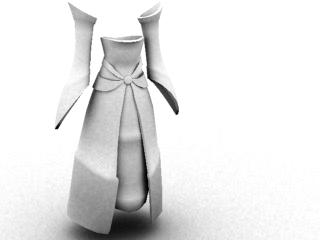
and everything put together
UPDATE 12
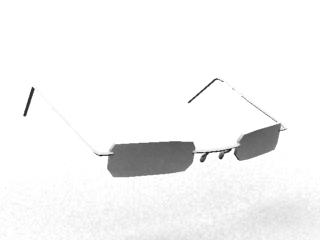
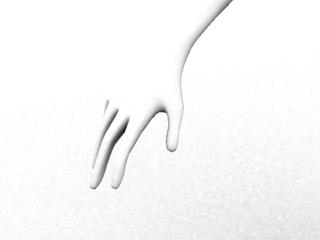
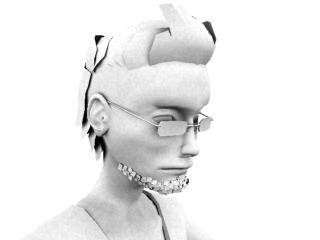
been updating the model of peter to fix some of the bigger issues
that were remaining with the model
added some missing sections on the glasses, updated the hands,
worked a bit more on the hair and tweaked the overall shape of the face
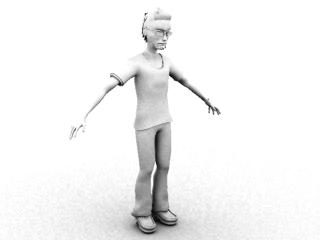
UPDATE 11
A Fishy update
Starting making the 2 main fish, the angel character
and the large fish that will be eating her
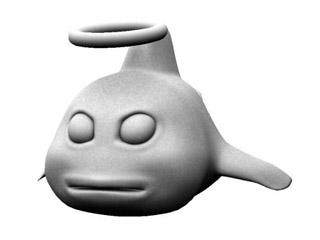
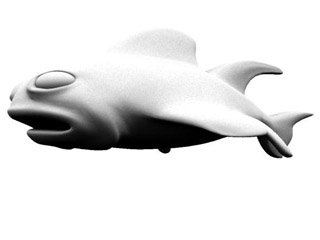
UPDATE 10
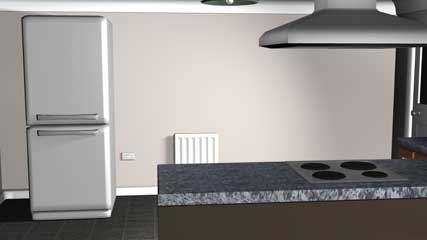
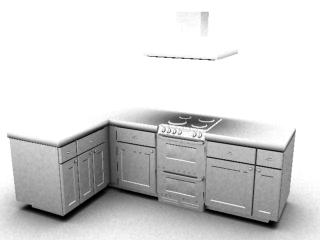
Working on the oven model with an extractor unit
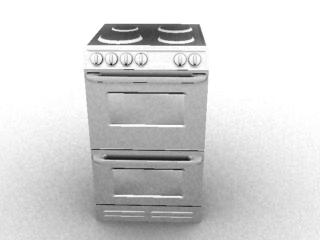
adding details to the kitchen worktop and cupboards
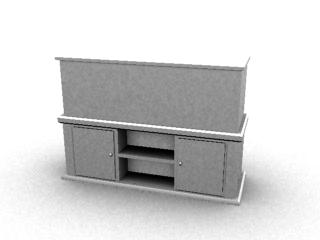
made a new fish tank
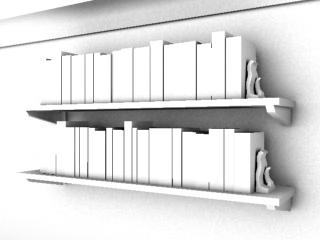
added some books and book ends to the shelves
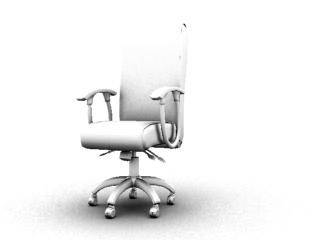
made an office chair for the study
UPDATE 9
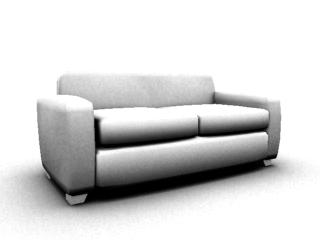
Updating the environment
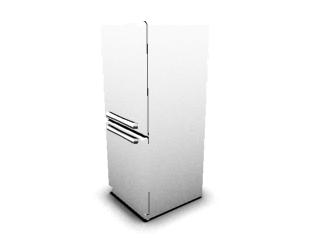
sofa
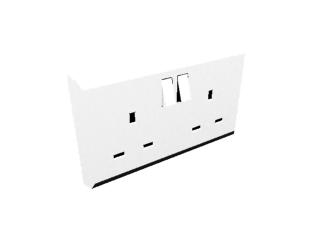
fridge
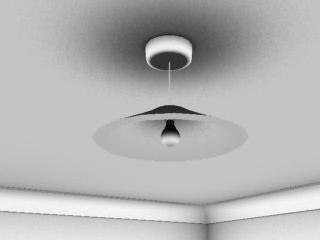
plug sockets
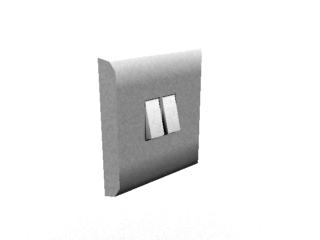
lights and light switches
UPDATE 8
spent some time adjusting the head shape
added some planes to use for low poly hair
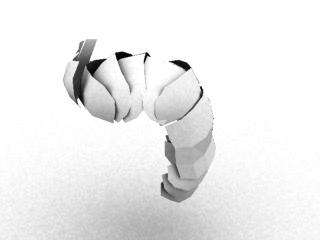
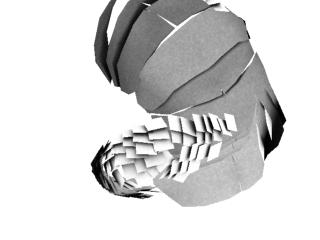
working on the ears
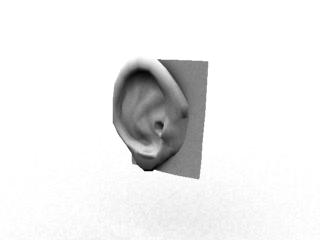
working on hands
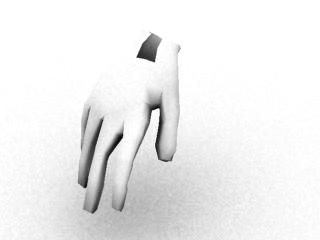
updating the head and working on the chest
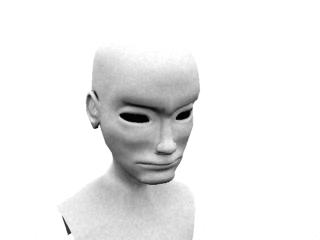
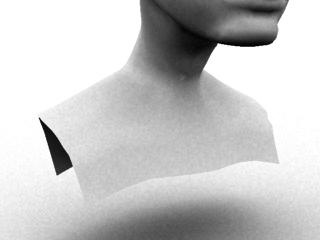
UPDATE 7
Head
for the head i was considering a couple of techniques
box modeling or building the detail areas and joining up
i find box modeling works for me with the body and simple shapes
but the results i was getting for the head were not quite what i wanted
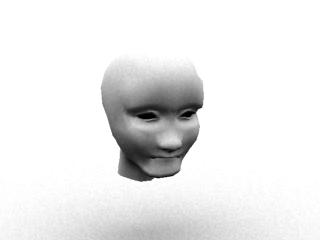
this model seemed way to generic and didn't really bring out any of the strong
shapes i wanted with my model
i believe the issue may be from my original 2d drawings, i didn't have a clear
idea of the volumes of the head would work in 3d
so i decided to refresh myself with some alternative head modeling techniques and
search around for some tutorials
this lead me to a method that gets you to draw out the key contours of the face
this seems pretty obvious after reading about it, but something i completely overlooked
and was attempting to just guess the shape that was not defined from the original 2d line
drawing.
once i had these contour lines running around the head it made it a lot easyer to visalise
the shapes that i was previously unsure about.
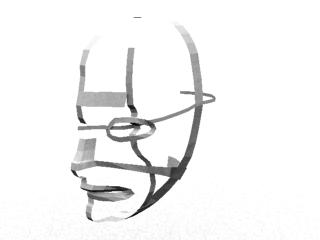
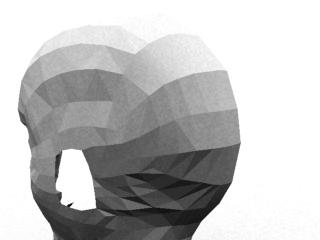
when i was getting to the back of the head i had an idea that i was completely
unsure about for the edge loops, but wanted to give it a try
with my model i had a lot of loops running up the forehead that would lead to the
neck if i followed the standard layout, but this was far more than i needed
for the neck, at first i tried using methods to reduce the amount of faces
around the back of the head
but my other idea was to run these extra loops around to the back of the ear since
there would likely be a need to having extra loops around the ear anyway,
im not sure how well this idea will work but i can always remodel the back of the head
if the results were bad
UPDATE 6
Upper body
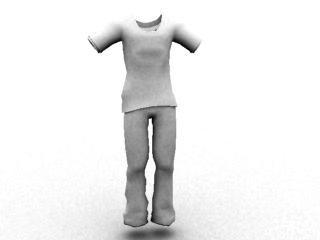
my character would be wearing a tshirt, modeling this is quite
easy untill you reach the shoulder part and then it brings up the
edge looping layout question again
for the arms i decided i would make them a seperate model at this stage
as i have not ruled out using cloth techniques to add shape to the model yet
UPDATE 5
Shoes
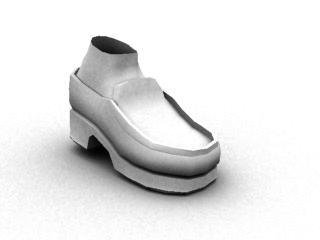
i had an idea in my head of the shoes i wanted the character to be wearing, but
i didn't have any myself for direct reference so i had to go hunting for reference
images, i was quite surprised how long this took and in the end i had to use images
of a few different pairs as i could not find the exact style i wanted
UPDATE 4
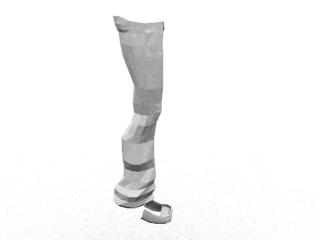
i wanted to take a break from working on the house and started on the character
i had conserns with my character making the transition to 3d since the style of
the drawings was very 2d and not something i was sure would work in full 3d without
some comprimises but i wanted to give it a try anyway and see how well it would
work, since it is a style that i would like to get good at
started with the legs,
this was the first character i have had to do since we were taught some new ideas
behind the whole edge looping subject, so i decided i wanted to create the character
using the new style (no wedges around joints) to see how well it would work for me
personally i find the modeling to quads and maintaining good edge loops quite a challenge
at the moment, i find myself stopping and looking at the different layouts i could use
in different situations and not really knowing what would work best, i decided to help
guide me i would use neils human body model for reference
obviously i would not be able to follow it directly since the model is naked and designed
with muscels in mind, while i am working on a clothed character.
UPDATE 3
from the early planning i had an idea of what effects i wanted to use for
the project, and one of the main effects i was hoping to use, if time allowed
was refraction for the fish tank,
this did not need to be accurate, but something that could pass off as refraction
to the typic viewer
I took the idea to martin who come up with a method of reducing the render time
on the effect by rendering out the background and putting that onto a plane and
using that to calculate the refraction
so rather than dealing with a 3d scene it would just be dealing with a 2d image
UPDATE 2
The environment - Building [ date ]
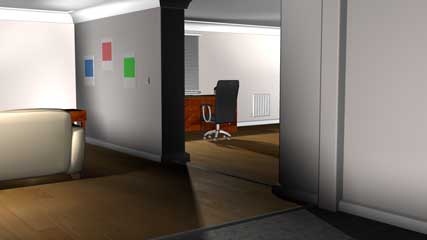
i started with the main focus room, the study, blocking out the rough
layout i needed
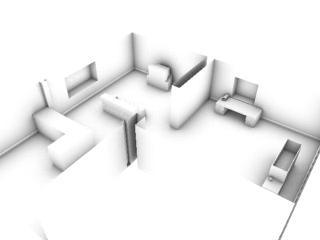
by this point i was happy with the basic shapes and needed
to start detailing and refining
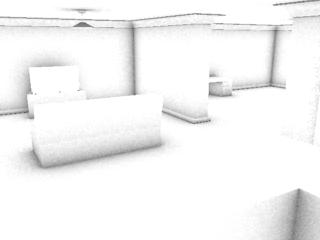
at these stages i realised i had not taken measurements for everything
i needed so i had to make a few adjustments
UPDATE 1
The environment - Planning [ date ]
the story takes place inside house, based in 2 key rooms
a study and a kitchen,
I had come up with a basic house layout that i wanted to use
when working on the storyboard for the proforma so i just needed
to make sure it still worked when created properly in 3d to scale
the plan for the environment is to have it fairly realistic,
closer to photo real than cartoon but it does not need to be 100%
photoreal,
i wanted to avoid the styalised odd angles that is often seen in
cartoony looks
the rooms needed to be quite open to give some open views and keep
everything quite flexible just incase some shots needed to be adjusted
to help get things to a suitable scale i took some real work measurements
to get the basic look correct, some things are rounded off as this is
not an arcitectural project but i wanted things to be close enough so the
viewers won't have any trouble accepting what they see. I thing these details
need extra attention when going for a more realistic look as major inaccuracys
can't be brushed off as being part of a style i was using
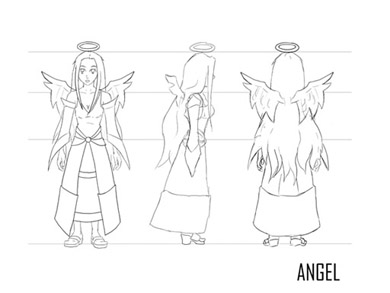
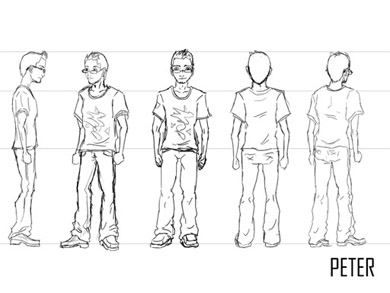
These are the original character turn arounds made during the planning of the project,
|
|
|